Valentine’s Day Candy Box Diorama-Rama


Heather Atkinson is an artist, crafter and creator of narrative vignettes inspired by all things obsessive, haunting, and bizarre. She utilizes various media, including photography (digital and analog) and found objects, to populate the worlds she imagines and creates. For more information, visit her blog. (P.S. Heather abhors writing bios and bribed her BFF Tonya to write this for her.)
There is simply no argument – the handmade valentines of elementary school are simply the best valentines ever. Period. Recapture the edible paste and construction paper high of your youth with a project suited to your more mature (debatable) tastes and refined skill set. You can use big kid hot glue, fancy paper and even knives! Why not make a freaking rad DIORAMA for your valentine? Here’s how!
You’ll Need:
  • Heart-shaped cardboard candy box, preferably with contents emptied into tummy. May I recommend Russell Stover as a fine choice?
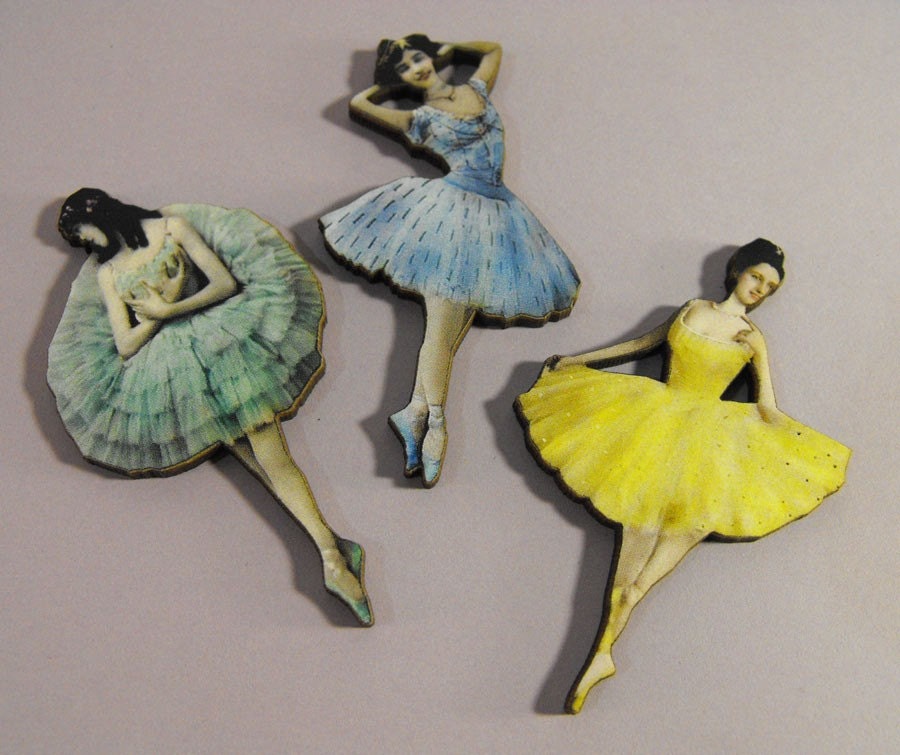
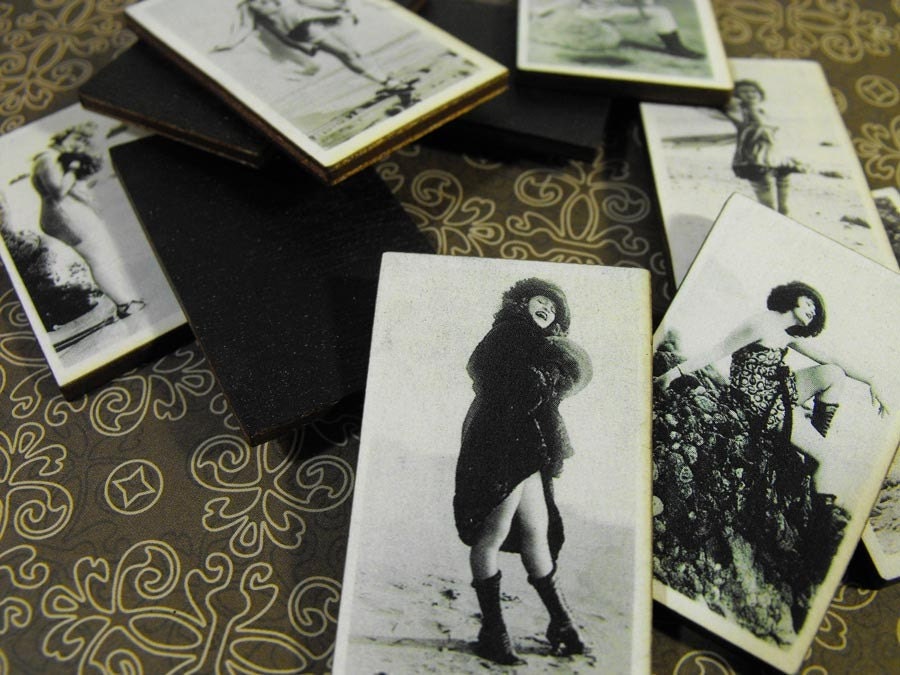
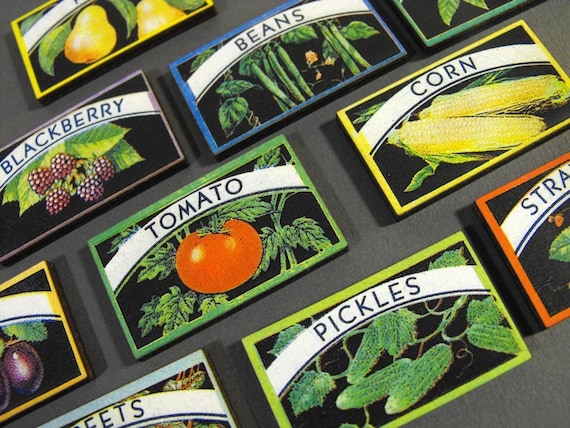
  • Assorted ephemera: Decorative paper, photos, postcards, drawings, clip art, wrapping paper, paper dolls, hair, etc. – the only limit is your imagination and your box size.
  • X-acto knife with fresh blade and/or small scissors
  • Box cutter with fresh blade
  • Pencil
  • Metal ruler
  • Brush – soft bristle or sponge
  • Decoupage medium – I used the fancy stuff but good old Mod Podge never fails!
  • Glue stick
  • Corrugated cardboard. A shipping box destined for recycling is ideal.
  • Glue gun
  • Optional: Small piece of plastic or mylar, masking tape, specialized miniature lighting

Heather Atkinson

1. Decide on a theme and plan out the scene you want to create in the diorama.
You will want at least three layers to create depth: background, middle ground and foreground. The lid of the box will be the topmost layer with a viewing hole cut out, and the interior bottom of the box will be the background. You can also decoupage the bottom of the box if you like.


Heather Atkinson


Heather Atkinson
2. Gather all of your ephemera and have it prepared.
Plan what items will go where and in what order. I recommend photographing your plan or sketching it as you will have to dismantle to build up from the background to the foreground. I chose a “sea-captain-death-at-sea-mermaid-true-love-rescue” theme and used an old postcard; clip art scanned, scaled to size, printed and cut out; pages from a poetry book; and vintage wrapping paper.


Heather Atkinson
3. Decoupage the box with your choice of background layer – you’ll build on top of this. This is a base layer to cover the obnoxious scene and brand name on the candy box. Follow manufacturer’s instructions labeled on your gel medium of choice.
Let dry completely. (Again – let dry completely!)
Trim excess paper from around both pieces using your X-Acto knife. Immediately after use, tightly close the lid on your gel medium and wash your brush in lukewarm soapy water. Helpful hint: Check the opaqueness of your paper before beginning. A translucent or light colored paper may require a double layer.


Heather Atkinson
4. Measure and use X-Acto knife and metal ruler to cut a viewing window from the box lid according to your design plan. This will create your viewing window.


Heather Atkinson

Heather Atkinson
5. Now it is time to start creating your scene! To make your interior scene, start with the hindmost layer and build forward creating layers of interest. Use pieces of corrugated cardboard to build up the backing of your scenery. Loosely trace the object and cut cardboard to fit within the lines. Apply hot glue from your glue gun to stick layers of together. (I added a black cardstock background to the bottom of my box covering the cardboard. To do, simply trace the heart shape, cut out, and glue in place. )


Heather Atkinson

Heather Atkinson

6. Carefully place your inner pieces in correct order and hot glue gun in place. It is helpful to make a light pencil mark delineating where each layer should be placed. Make sure you view the subject with the lid on and looking at it straightforward before setting the final display. Arrange and decoupage the layers of your lid design – remember build from back to front overlapping to create visual appeal. Let dry completely. If desired, glue lid in place so diorama is tightly secured.


Heather Atkinson

Heather Atkinson

7. Add special details such as a ribbon around the outside of the bow, an image on the back, lighting inside, attach a wall hanger, etc. You can add lights ordered from a specialty hobby or dollhouse supplier to put inside the box out of sight for a special glow – this will really show off depth! Simply use a dab of glue to apply. This is a sure fire way to impress.
If you want to be extra profesh you can add a pane to your window using plastic or mylar


Heather Atkinson
A special thank you to Artifacts for the loan of the styling props – including the eye popping plastic lace and hot pink tablecloth seen in the photos above. No boring stuff allowed!